Background Location Services In React Native: Second Approach
Step-by-step guide to setting up background location tracking with react-native-geolocation-service and react-native-background-actions.

I'm a dedicated software engineer with a passion for solving business challenges through innovative software solutions. My technical stack spans React, React Native (for both Android and iOS), Kotlin, and Android development—tools I leverage to build dynamic user interfaces and architect efficient, scalable mobile applications that drive business success and elevate user experiences. In my previous role, I led a team of developers to create a high-performance delivery app for a major client in East Asia, as well as a cutting-edge meme coin launchpad. Currently, as a co-founder and mobile engineer at BlinkCore, I help build digital and contactless payment apps that empower users to make blink-fast, secure payments while enabling businesses to receive them seamlessly. Our technology integrates NFC, HCE, QR code scanning, and geolocation to deliver a next-generation payment experience. I thrive on tackling complex problems and consistently deliver scalable, innovative solutions that align with business needs. Let's connect and explore how we can turn challenging ideas into transformative digital experiences.
In the previous article, we explored how to implement background location services in React Native by pairing react-native-geolocation-service with the Notifee library. Our use case for that approach was building a payment platform where merchants could be discovered by their location. However, that approach only works on Android due to Notifee's foreground service limitations on iOS.
Let's dive right into this new approach.
You can find the Previous article here.
Our current use case is an E-hailing platform where a user can order a ride, and even when their device is locked, we can still update their location. Once the driver starts the ride, we stop the background services. Alternatively, you can start another background service when the driver begins the ride. We will use two buttons (start and stop) to simulate this behavior. Let’s begin our setup.
Step 1: Install react-native-background-actions and react-native-geolocation-service
npm install react-native-background-actions react-native-geolocation-service
# or
yarn add react-native-background-actions react-native-geolocation-service
Step 2: Pod install (for IOS)
cd ios && pod install && cd ..
Step 3: Update Your Info.plist
For iOS to support background location updates, you need to update your Info.plist with the necessary permissions and background modes. Open ios/YourProjectName/info.plist and add the following keys:
    <key>NSLocationAlwaysAndWhenInUseUsageDescription</key>
    <string>We need your location in the background to notify you of nearby payment opportunities</string>
    <key>NSLocationAlwaysUsageDescription</key>
    <string>We need your location in the background to notify you of nearby payment opportunities</string>
    <key>NSLocationWhenInUseUsageDescription</key>
    <string>We need your location to find nearby payment opportunities</string>
    <key>UIBackgroundModes</key>
    <array>
        <string>fetch</string>
        <string>location</string>
        <string>processing</string>
    </array>
These entries ensure that your app is granted the necessary permissions to work with background location updates:
Step 4: Simulating Location Updates on iOS
During development, simulating location updates on iOS is essential for testing your background tasks. Here are two common methods:
- Using Xcode’s Built-In Simulator:
Run your app in the iOS Simulator.
In the Simulation, navigate to
Features > Locationin the menu.Choose from one of the predefined locations or use the Custom Location option
- Using a GPX File:
Create a GPX file with your desired set of coordinates.
in Xcode, go to Product > Scheme > Edit Scheme… > Options.
Check Allow Location Simulation and select your GPX file
This will simulate location updates, allowing you to test how your background actions handle changing locations without needing to move physically.
With these steps completed, your project is now ready for integrating background tasks that continuously fetch location data using react-native-background-actions alongside react-native-geolocation-service.
In the next section, we’ll dive into configuring and starting the background task, ensuring that our app continues to receive location updates even when it’s running in the background.
Handling Permissions for Location and Notifications
Before fetching location updates or showing notifications, we need to ensure our app has the required permissions. The code snippet below demonstrates how to request location permissions (both foreground and background) and notification permissions. This is crucial for our E-hailing platform, where we must continuously update the user’s location even when the device is locked.
Requesting Location Permissions
For location, our approach differs based on the platform:
iOS
We request authorization with the
‘always‘option, ensuring that our app can receive location updates even when it’s running in the background.Android
We first request
ACCESS_FINE_LOCATIONfor precise location data. If granted, we then requestACCESS_BACKGROUND_LOCATIONto allow location updates even when the app is not in the foreground.
Here’s the code the handles these steps:
// request location permission
const requestLocationPermissions = async () => {
  if (Platform.OS === 'ios') {
    const status = await Geolocation.requestAuthorization('always');
    return status === 'granted';
  }

  if (Platform.OS === 'android') {
    // Request ACCESS_FINE_LOCATION
    const fineLocationPermission = await PermissionsAndroid.request(
      PermissionsAndroid.PERMISSIONS.ACCESS_FINE_LOCATION,
      {
        title: 'Location Permission',
        message: 'We need your location to find nearby payment opportunities',
        buttonNeutral: 'Ask Me Later',
        buttonNegative: 'Cancel',
        buttonPositive: 'OK',
      },
    );

    if (fineLocationPermission === PermissionsAndroid.RESULTS.GRANTED) {
      // Request ACCESS_BACKGROUND_LOCATION
      const backgroundPermission = await PermissionsAndroid.request(
        PermissionsAndroid.PERMISSIONS.ACCESS_BACKGROUND_LOCATION,
        {
          title: 'Background Location Permission',
          message:
            'To continue receiving nearby payment opportunities, please allow background location access. ' +
            'You can change this anytime in your device settings.',
          buttonNeutral: 'Ask Me Later',
          buttonNegative: 'Cancel',
          buttonPositive: 'OK',
        },
      );
      return backgroundPermission === PermissionsAndroid.RESULTS.GRANTED;
    }
    return false;
  }
};
Requesting Notification Permissions
For notifications, we’re using the Notifee library. The following function requests notification permissions and logs the outcome:
javascriptCopyEdit// REQUEST NOTIFICATION PERMISSION
async function requestNotificationPermission() {
  const settings = await notifee.requestPermission();

  if (settings.authorizationStatus >= AuthorizationStatus.AUTHORIZED) {
    console.log('Permission settings:', settings);
  } else {
    console.log('User declined permissions');
  }
}
Combining Permissions Requests
We create a helper function, requestAllPermissions, which sequentially requests both location and notification permissions. The function return true only if both permissions are granted:
const requestAllPermissions = async () => {
  try {
    const locationGranted = await requestLocationPermissions();
    const notificationsGranted = await requestNotificationPermission();
    return locationGranted && notificationsGranted;
  } catch (error) {
    // In case of an error while requesting permissions, return false
    return false;
  }
};
Finally, we export the checkAndRequestPermissions function. This function acts as the entry point for permission handling. It checks if all required permissions are granted and then proceeds to start the location tracking or other functionality:
// permission for location
export const checkAndRequestPermissions = async () => {
  try {
    const hasPermissions = await requestAllPermissions();
    if (hasPermissions) {
      // All required permissions granted
      // Start location tracking or other functionality here
    } else {
      // Required permissions not granted
    }
  } catch (err) {
    // Handle error when requesting permissions
  }
};
Notes
iOS vs. Android:
The permission flow is separated based on the operating system to cater to platform-specific requirements.Handling Denied Permissions:
In a production environment, you might want to handle cases where permissions are denied by showing a prompt or guiding users to the device settings.Notification Permissions:
Note that therequestNotificationPermissionfunction currently logs the permission status. Depending on your needs, you might want to modify this function to return a boolean value indicating whether the notification permission was granted.
By ensuring that all necessary permissions are obtained upfront, we can confidently proceed with implementing background location updates, knowing that our app has the access it needs.
Creating a Foreground Location Watcher
To keep track of the user's position while the app is in the foreground, we’ll implement a watcher function. This function uses the Geolocation.watchPosition method from the react-native-geolocation-service library to trigger callbacks for both success and error events. Here's how it's done:
// Implement a watch function that updates the user's location when the app is in the foreground
export const watchMerchantPosition = (
  successFn: SuccessCallback,
  errorFn: ErrorCallback,
) => {
  const watchID = Geolocation.watchPosition(successFn, errorFn, {
    accuracy: {
      android: 'high',
      ios: 'best',
    },
    enableHighAccuracy: true,
    distanceFilter: 100, // Update when at least 10 meters moved (adjust as needed)
    interval: 5000, // Android-only: interval in milliseconds
    fastestInterval: 2000, // Android-only: fastest interval between updates
    showLocationDialog: true, // Android: show a dialog if settings need adjustment
    forceRequestLocation: true, // Android: force request location even if previously denied
    showsBackgroundLocationIndicator: true, // iOS specific: show background location indicator
  });

  return watchID;
};

export function watchMerchantPositionSuccess(position: GeoPosition) {
  // This function handles successful location updates.
  // In a real-world scenario, you might update your backend or state management here.
  return position;
}

export function watchMerchantPositionError(error: GeoError) {
  // This function handles errors from the location service.
  return error;
}
Explanation
watchMerchantPosition Function:
This function sets up a location watcher that continuously monitors the user's position. It accepts two callback functions:successFn: Called whenever a new location is obtained.errorFn: Called if an error occurs while fetching the location.
The options passed to Geolocation.watchPosition include:
Accuracy Settings:
Useshighaccuracy on Android andbeston iOS.Distance Filter:
Only triggers an update when the user moves at least 100 meters. (You can adjust this threshold based on your needs.)Intervals:
Configures the update frequency on Android withintervalandfastestInterval.User Prompts:
Options likeshowLocationDialogandforceRequestLocationensure a smoother experience on Android.iOS Background Indicator:
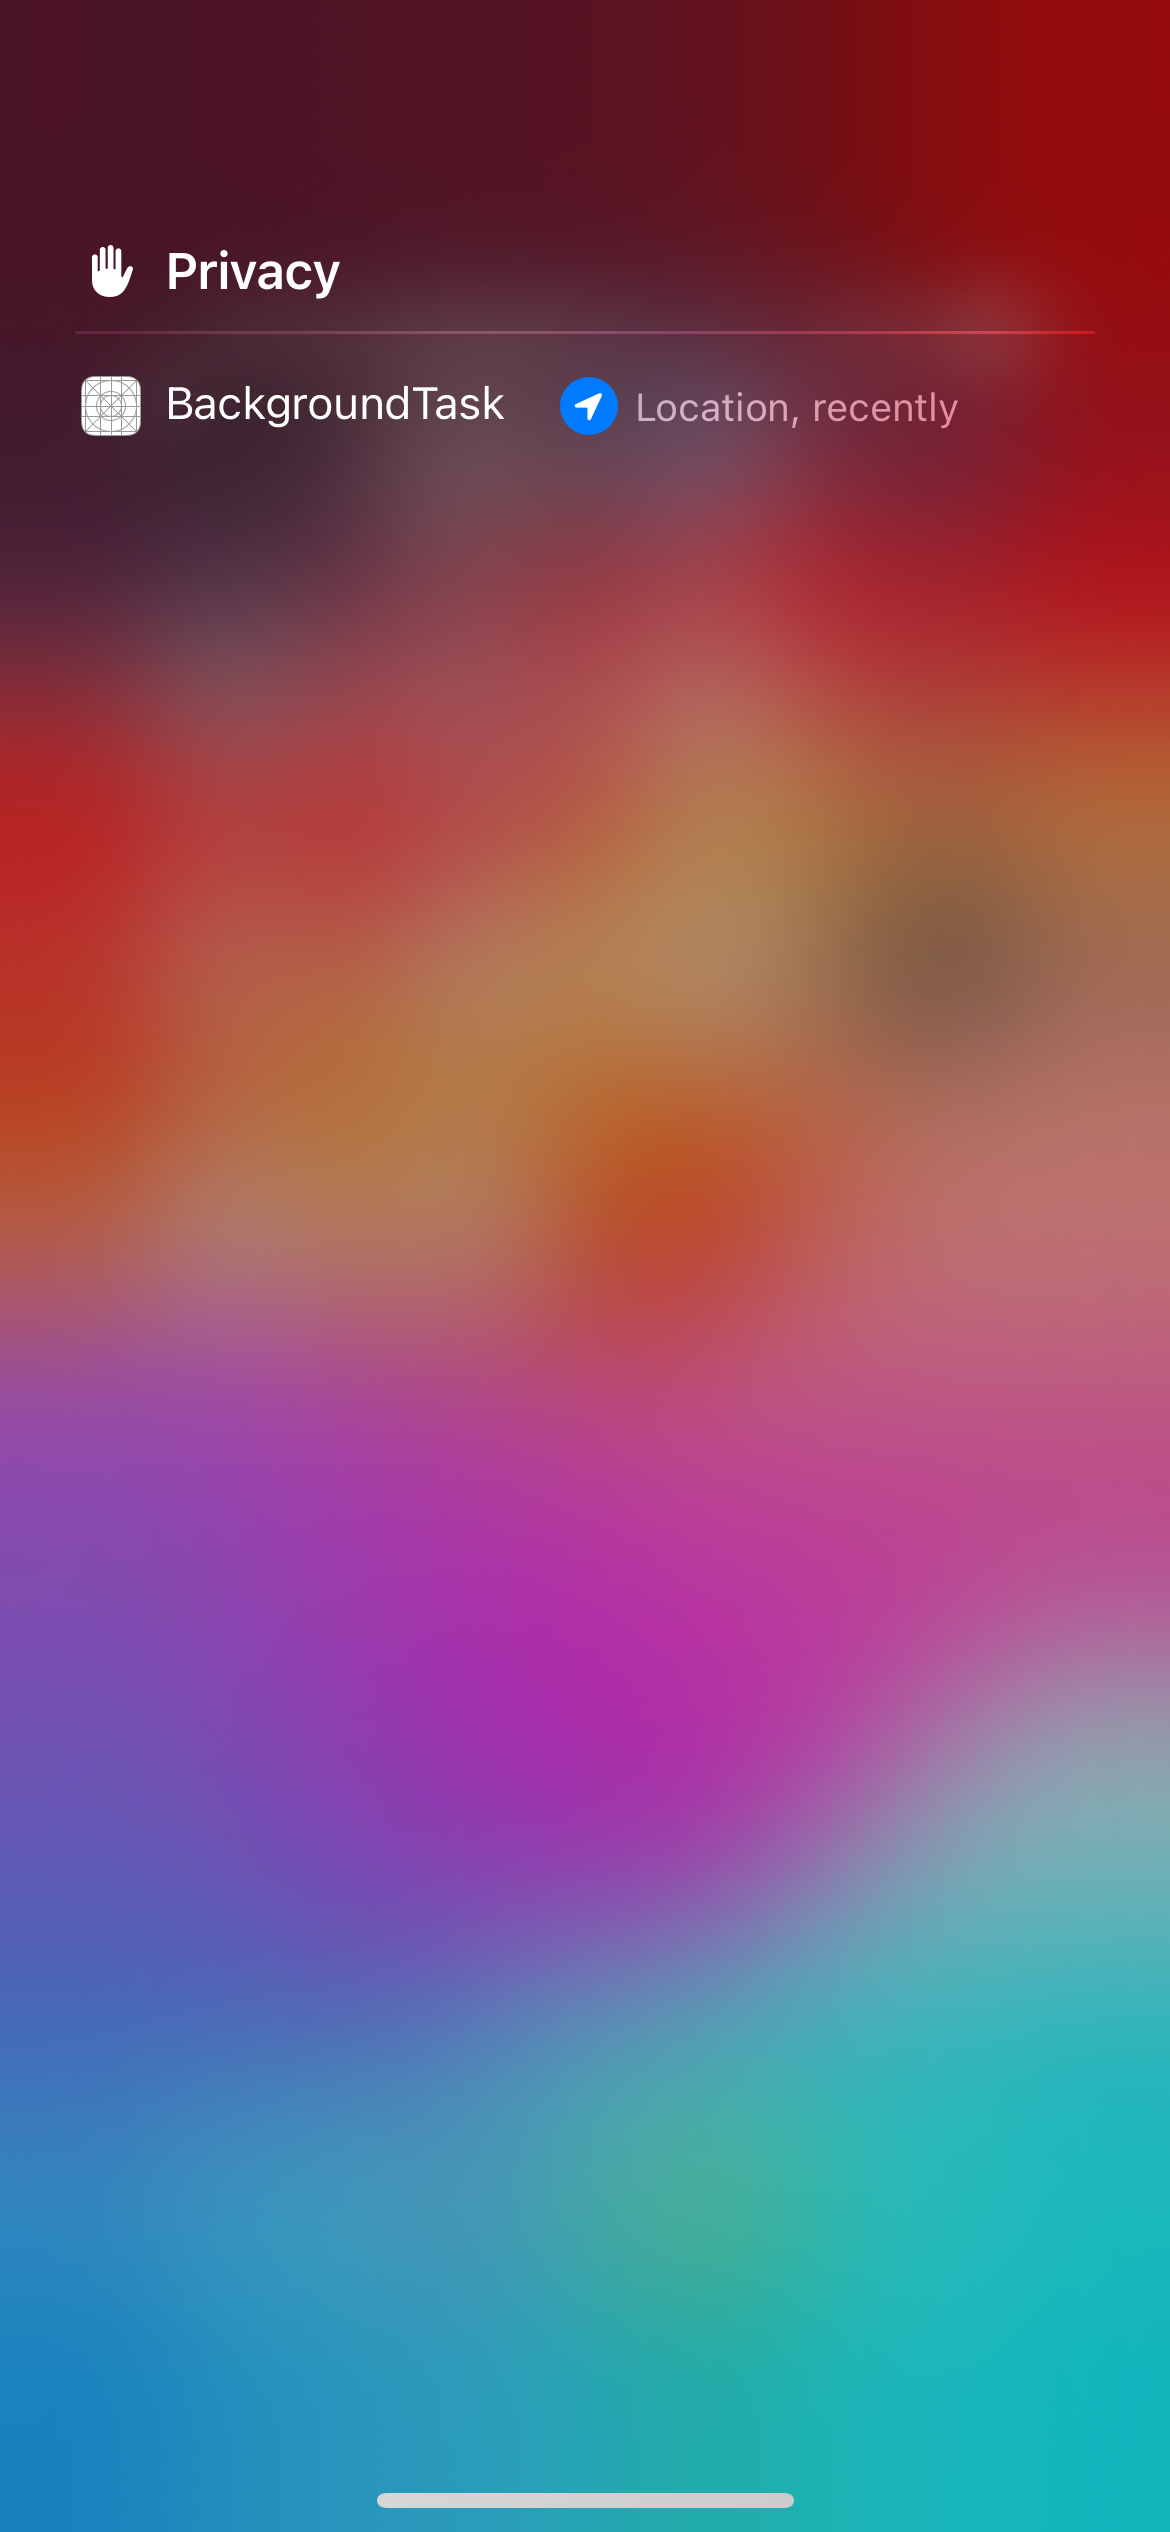
TheshowsBackgroundLocationIndicatoroption informs users that the app is actively tracking their location in the background.
- Success and Error Callbacks:
The functionswatchMerchantPositionSuccessandwatchMerchantPositionErrorhandle the geolocation responses. In a production app, these functions might include logic to update your backend or the application's state with the new location data.
Configuring Background Notification Options
In addition to foreground tracking, it's important to notify the user when the app is actively monitoring their location in the background. The following configuration sets up the notification options:
const backgroundNotificationOption = {
  taskName: 'Location Change',
  taskTitle: 'Latest Location',
  taskDesc:
    "We're reading and updating your location change to enhance our GEO-location payment method. So you can receive payment faster",
  taskIcon: {
    name: 'ic_launcher',
    type: 'mipmap',
  },
  linkingURI: 'blinkmerchant',
  parameters: {
    delay: 1000,
  },
};
- Notification Details:
This object configures the title, description, icon, and linking URI for the background notification. When the background task is active, these settings ensure the user is informed about the location tracking.
By implementing these functions, your app will continuously monitor and handle location updates effectively, setting the stage for integrating background services later on.
Let’s implement our components to handle starting and stopping of the background service. As mentioned earlier, we’ll simulate an E-hailing platform’s background service with a start and a stop button. Here is the component:
import React, {useEffect, useRef} from 'react';
import {AppState, Button, StyleSheet, Text, View} from 'react-native';
import BackgroundJob from 'react-native-background-actions';
import {
  backgroundNotificationOption,
  watchMerchantPosition,
  watchMerchantPositionError,
  watchMerchantPositionSuccess,
} from './utils';
import Geolocation from 'react-native-geolocation-service';

export default function BackgroundNoticationWithActions() {
  // Store the watch ID to clear it later
  const watchId = useRef<number | null>(null);
//this line of code stops the background service on iOS
BackgroundJob.on('expiration', () => {
    console.log('iOS: I am being closed!');
  });

  // Function to stop background tracking
  const stopBackgroundTracking = async () => {
    if (BackgroundJob.isRunning()) {
      await BackgroundJob.stop();
      Geolocation.clearWatch(watchId.current as never);
    }
    console.log('Background tracking stopped');
  };

  // Function to start the background job
  async function startBackgroundJob() {
    try {
      await BackgroundJob.start(async () => {
        console.log('background job started');
        // Initiate location tracking and store the watch ID for later cleanup
        await new Promise<void>(async resolve => {
          watchId.current = watchMerchantPosition(
            position => watchMerchantPositionSuccess(position),
            error => watchMerchantPositionError(error),
          );
        });
      }, backgroundNotificationOption);
    } catch (error) {
      console.error('Background job error:', error);
    }
  }

  return (
    <View style={styles.sectionContainer}>
      <Text style={styles.sectionTitle}>
        Background Location Notification with react-native-background-actions
        and react-native-geolocation-service
      </Text>
      <Button title="Start task" onPress={startBackgroundJob} />
      <Button title="Stop task" onPress={stopBackgroundTracking} />
    </View>
  );
}

const styles = StyleSheet.create({
  sectionContainer: {
    justifyContent: 'center',
    alignItems: 'center',
  },
  sectionTitle: {
    fontSize: 14,
    textAlign: 'center',
    fontWeight: '400',
    lineHeight: 20,
  },
  highlight: {
    fontWeight: '700',
  },
});
Component Breakdown
Imports and Setup:
We import necessary hooks from React, components from React Native, and our custom utilities for location tracking and background notifications.
The
useRefhook is used to store the watch ID returned by the geolocation service. This allows us to clear the watch later when the background task is stopped.
Stopping Background Tracking:
The
stopBackgroundTrackingfunction checks if a background job is running. If so, it stops the background job and clears the geolocation watch using the stored watch ID.A log statement confirms that background tracking has been stopped.
Starting the Background Job:
The
startBackgroundJobfunction starts a background task usingBackgroundJob.start.Inside the background task, the code initialises a new promise (which runs continuously) and sets up the location watcher using
watchMerchantPosition.The success and error callbacks (
watchMerchantPositionSuccessandwatchMerchantPositionError) handle the responses from the geolocation service.
The
BackgroundJob.onfunction helps stop the background service on iOS. Without this line, the background service would continue running even after the user presses the stop button. It's important to include this line of code.
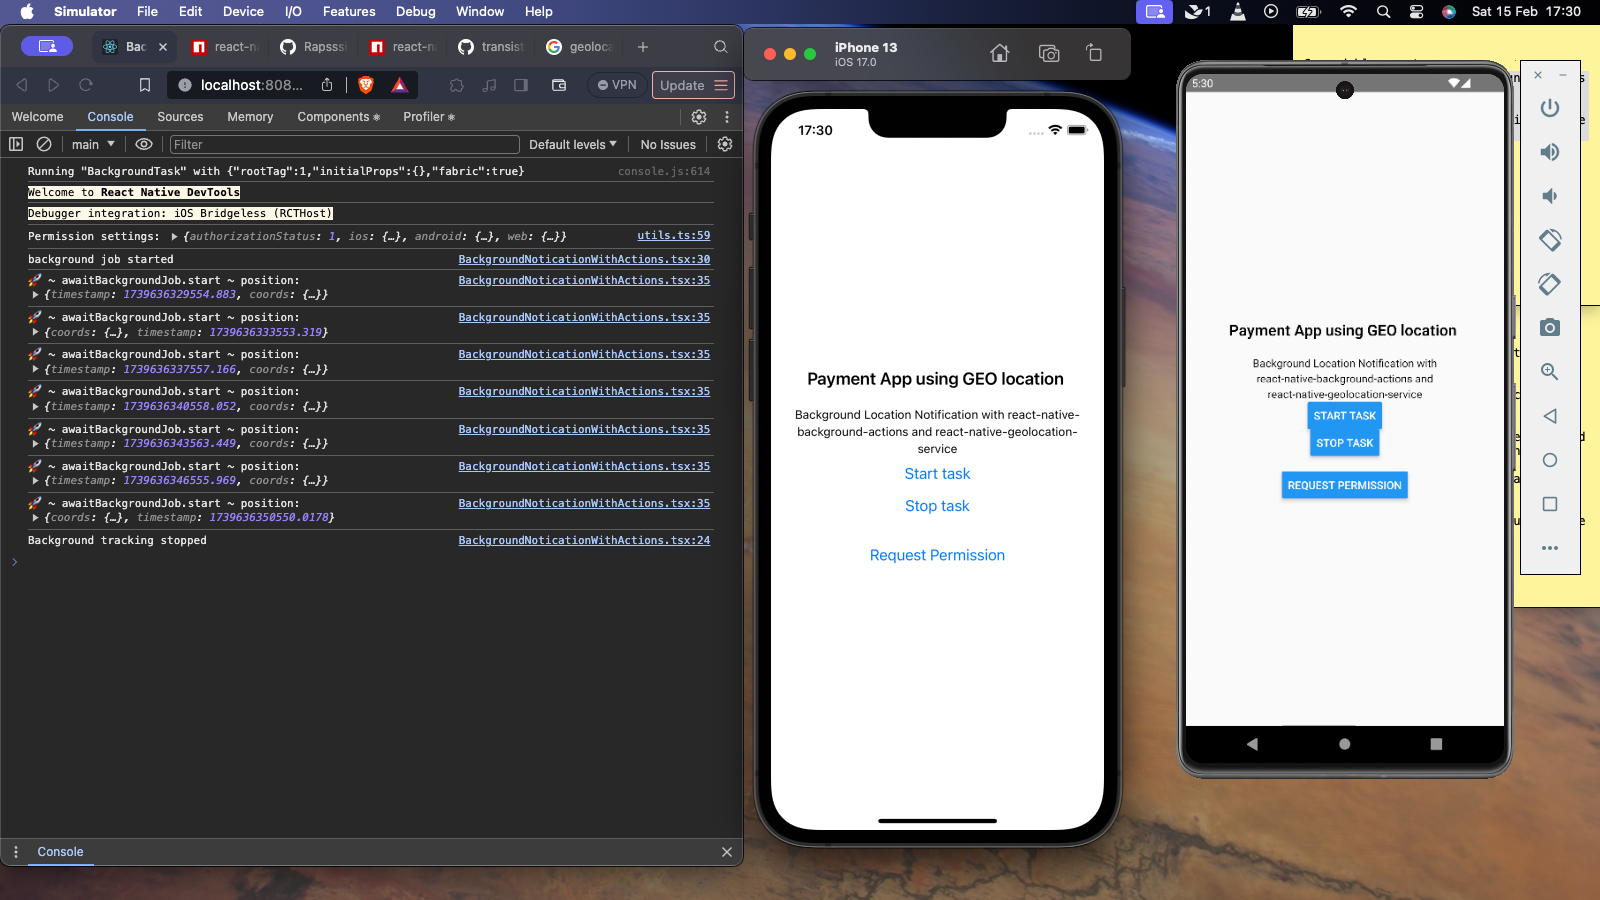
Conclusion and Demo
We’ve learned how to handle background location on both Android and iOS using react-native-geolocation-service and react-native-background-actions. Alternatively, you could use react-native-background-location to manage background location, but in this article, we focus on this approach. Personally, I like it because you can easily customise it to suit your use case. The demo and GitHub repository will be shared below.
Check the link to the github repo here
Summary and Key Takeaways
In this article, we explored how to implement background location tracking on both Android and iOS using react-native-geolocation-service and react-native-background-actions. Here are the main points:
Cross-Platform Support:
We learned how to handle platform-specific permission requests and configuration, ensuring both Android and iOS devices can track location in the background.Background Task Management:
By setting up start and stop functions, we enabled continuous background tracking when needed—ideal for an E-hailing platform where timely location updates are crucial.Customisation and Flexibility:
This approach can be easily tailored to fit different use cases. Although there are alternatives likereact-native-background-location, the combination used here provides a robust and flexible solution for many scenarios.
We hope this article has provided you with a clear, practical approach to implementing background location tracking in your React Native app. Now it's your turn:
Try It Out:
Fork the demo from our GitHub repository, experiment with the code, and customise it to suit your project’s needs.Share Your Feedback:
Let us know your thoughts—what worked well, what could be improved, or any challenges you encountered along the way.Contribute:
If you have enhancements or additional use cases, consider contributing to the repository or sharing your experience in the comments.
Happy coding, and we look forward to seeing how you leverage background location tracking in your own apps!


